Wall mount PC
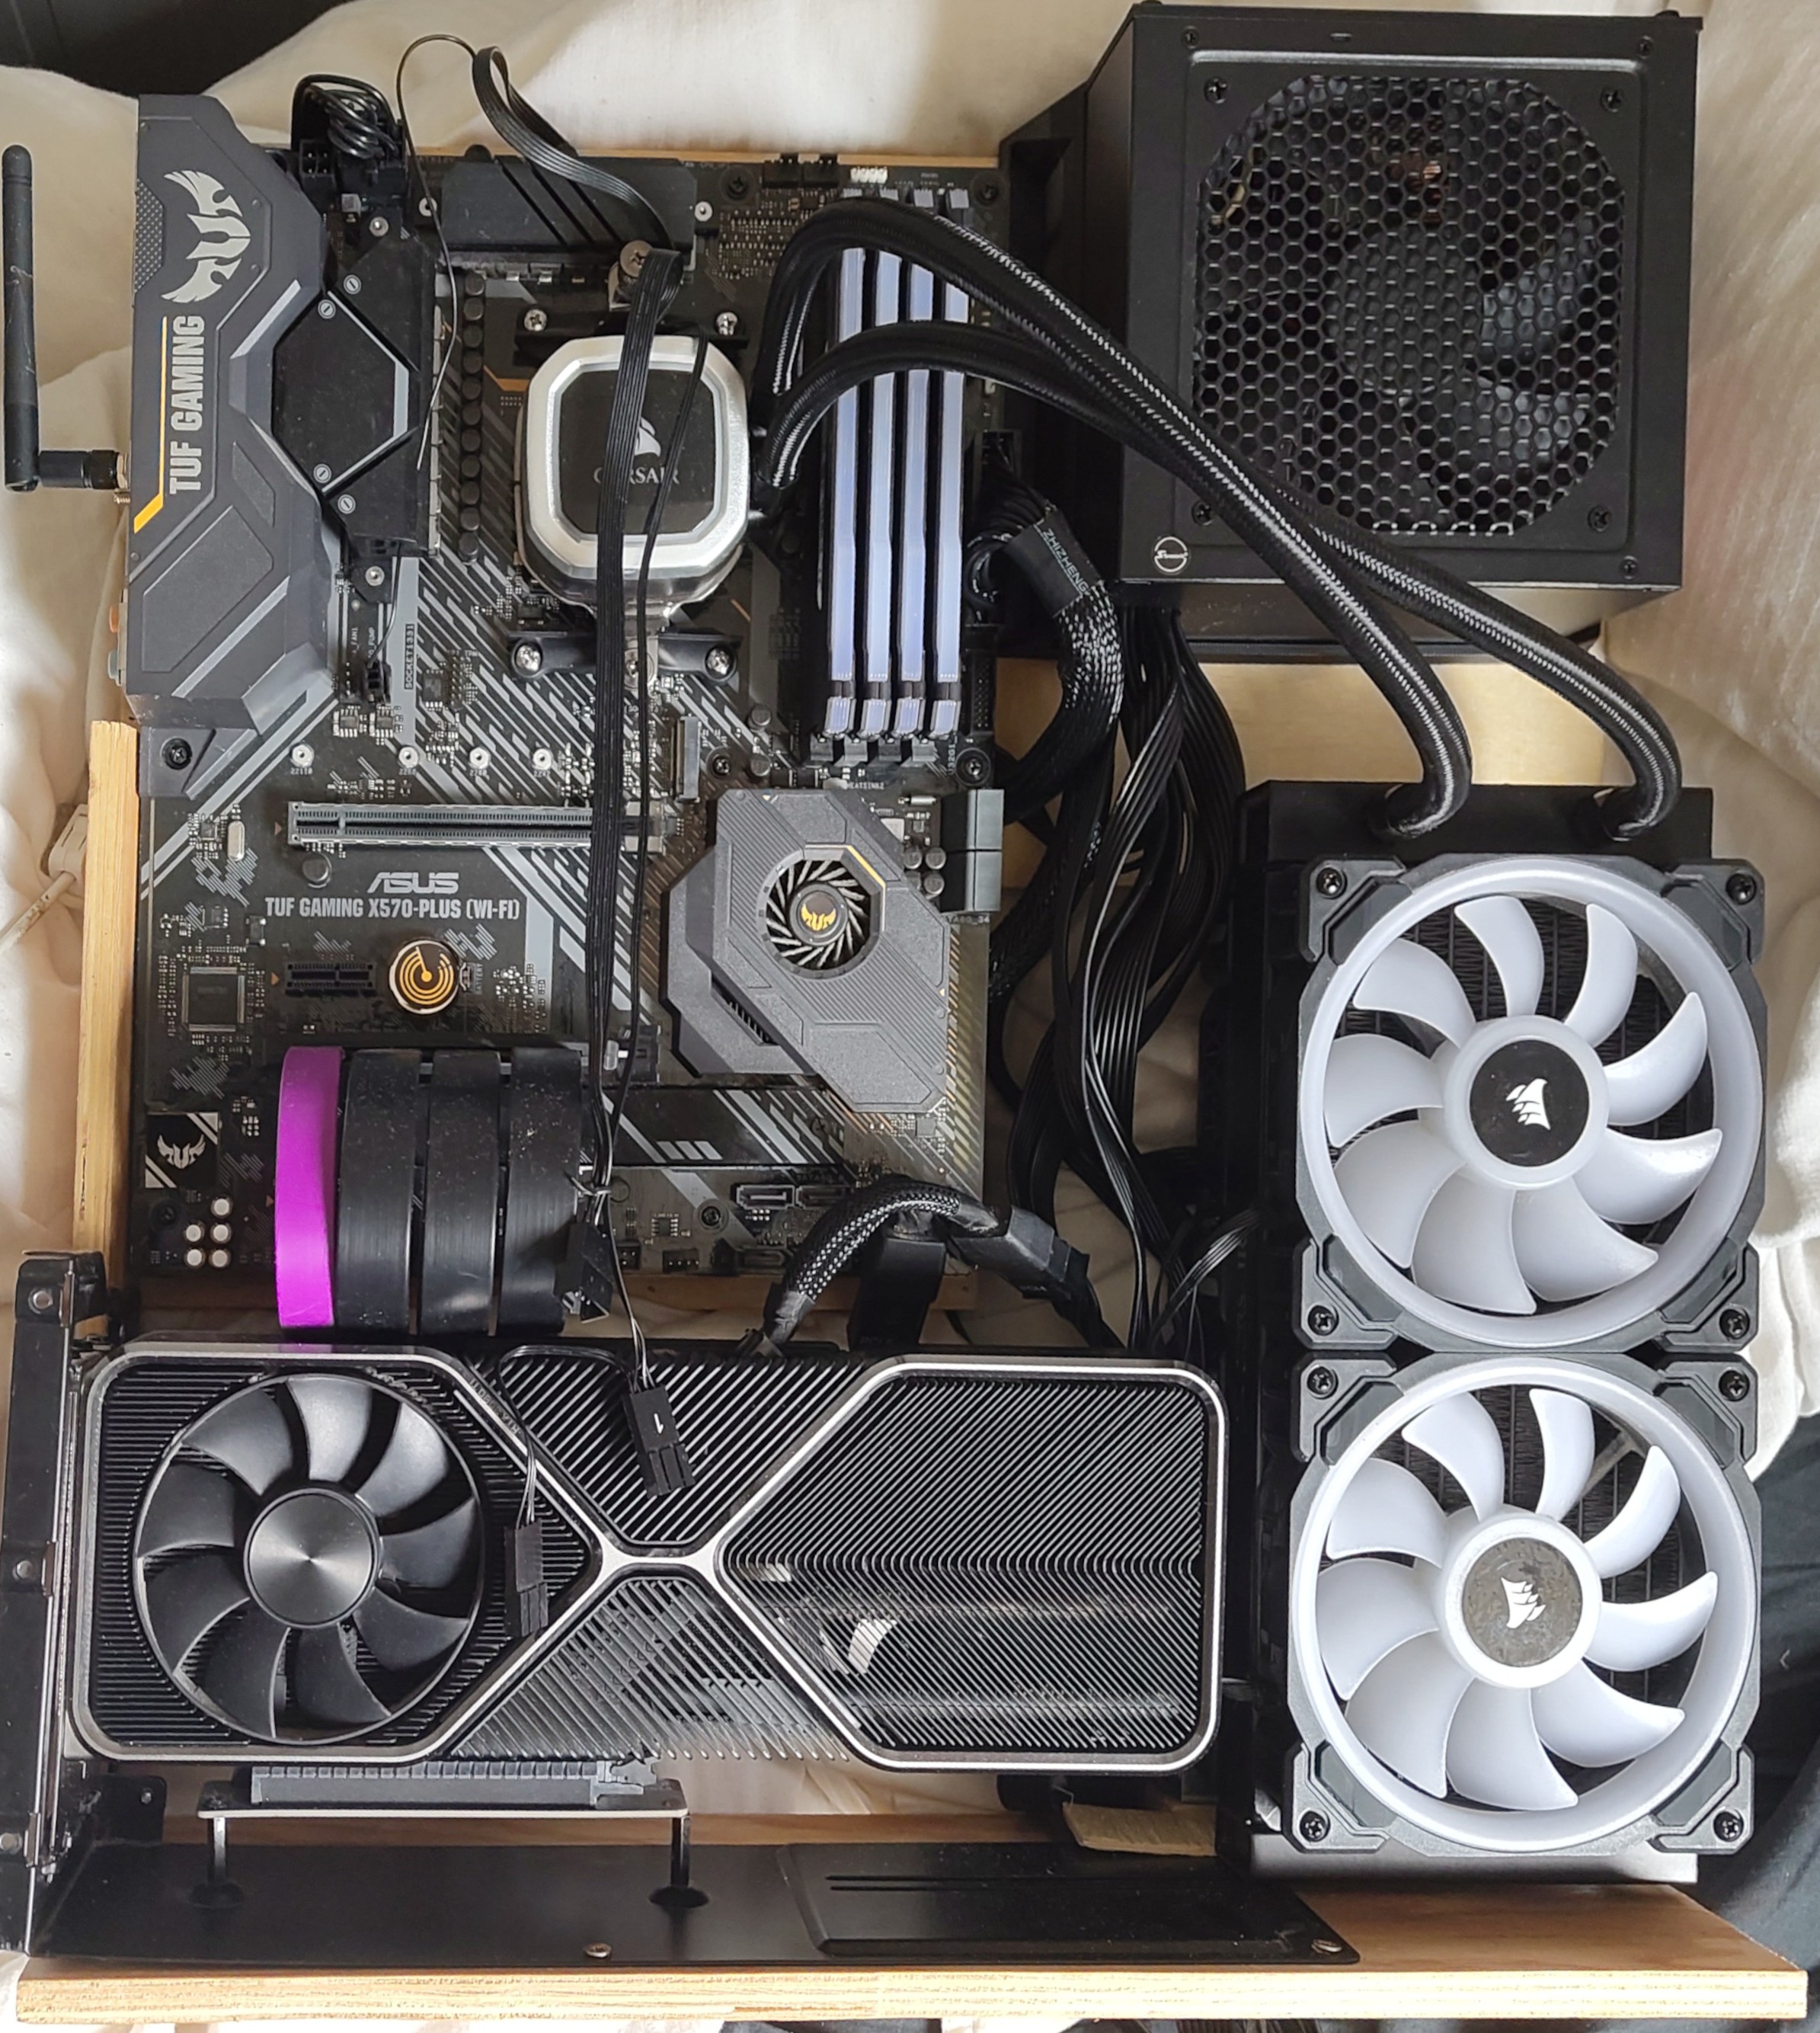
My PC was taking a frustrating amount of space in my small room so this page documents my process in making an open air "case" in order to mount it to the wall.
The first order of business is the motherboard mounting. I decided to accomplish this by buying female to female M3 standoffs, I used 25mm long ones but that might be a bit long tbh. They were secured into the wooden board by screwing them in from the back of the board using washers to keep them level. In order to align the holes I made a template for the ATX motherboard mounting that could be printed on normal A4 printers (2 pages). I had to make an alignment line present on both sheets, you must cut triangular notches in one of the sheets in order to align them.
Download the A4 ATX print template HERE
With this the project started coming together. I screwed the graphics card vertical bracket in, and the standoffs aligned with the motherboard well enough.
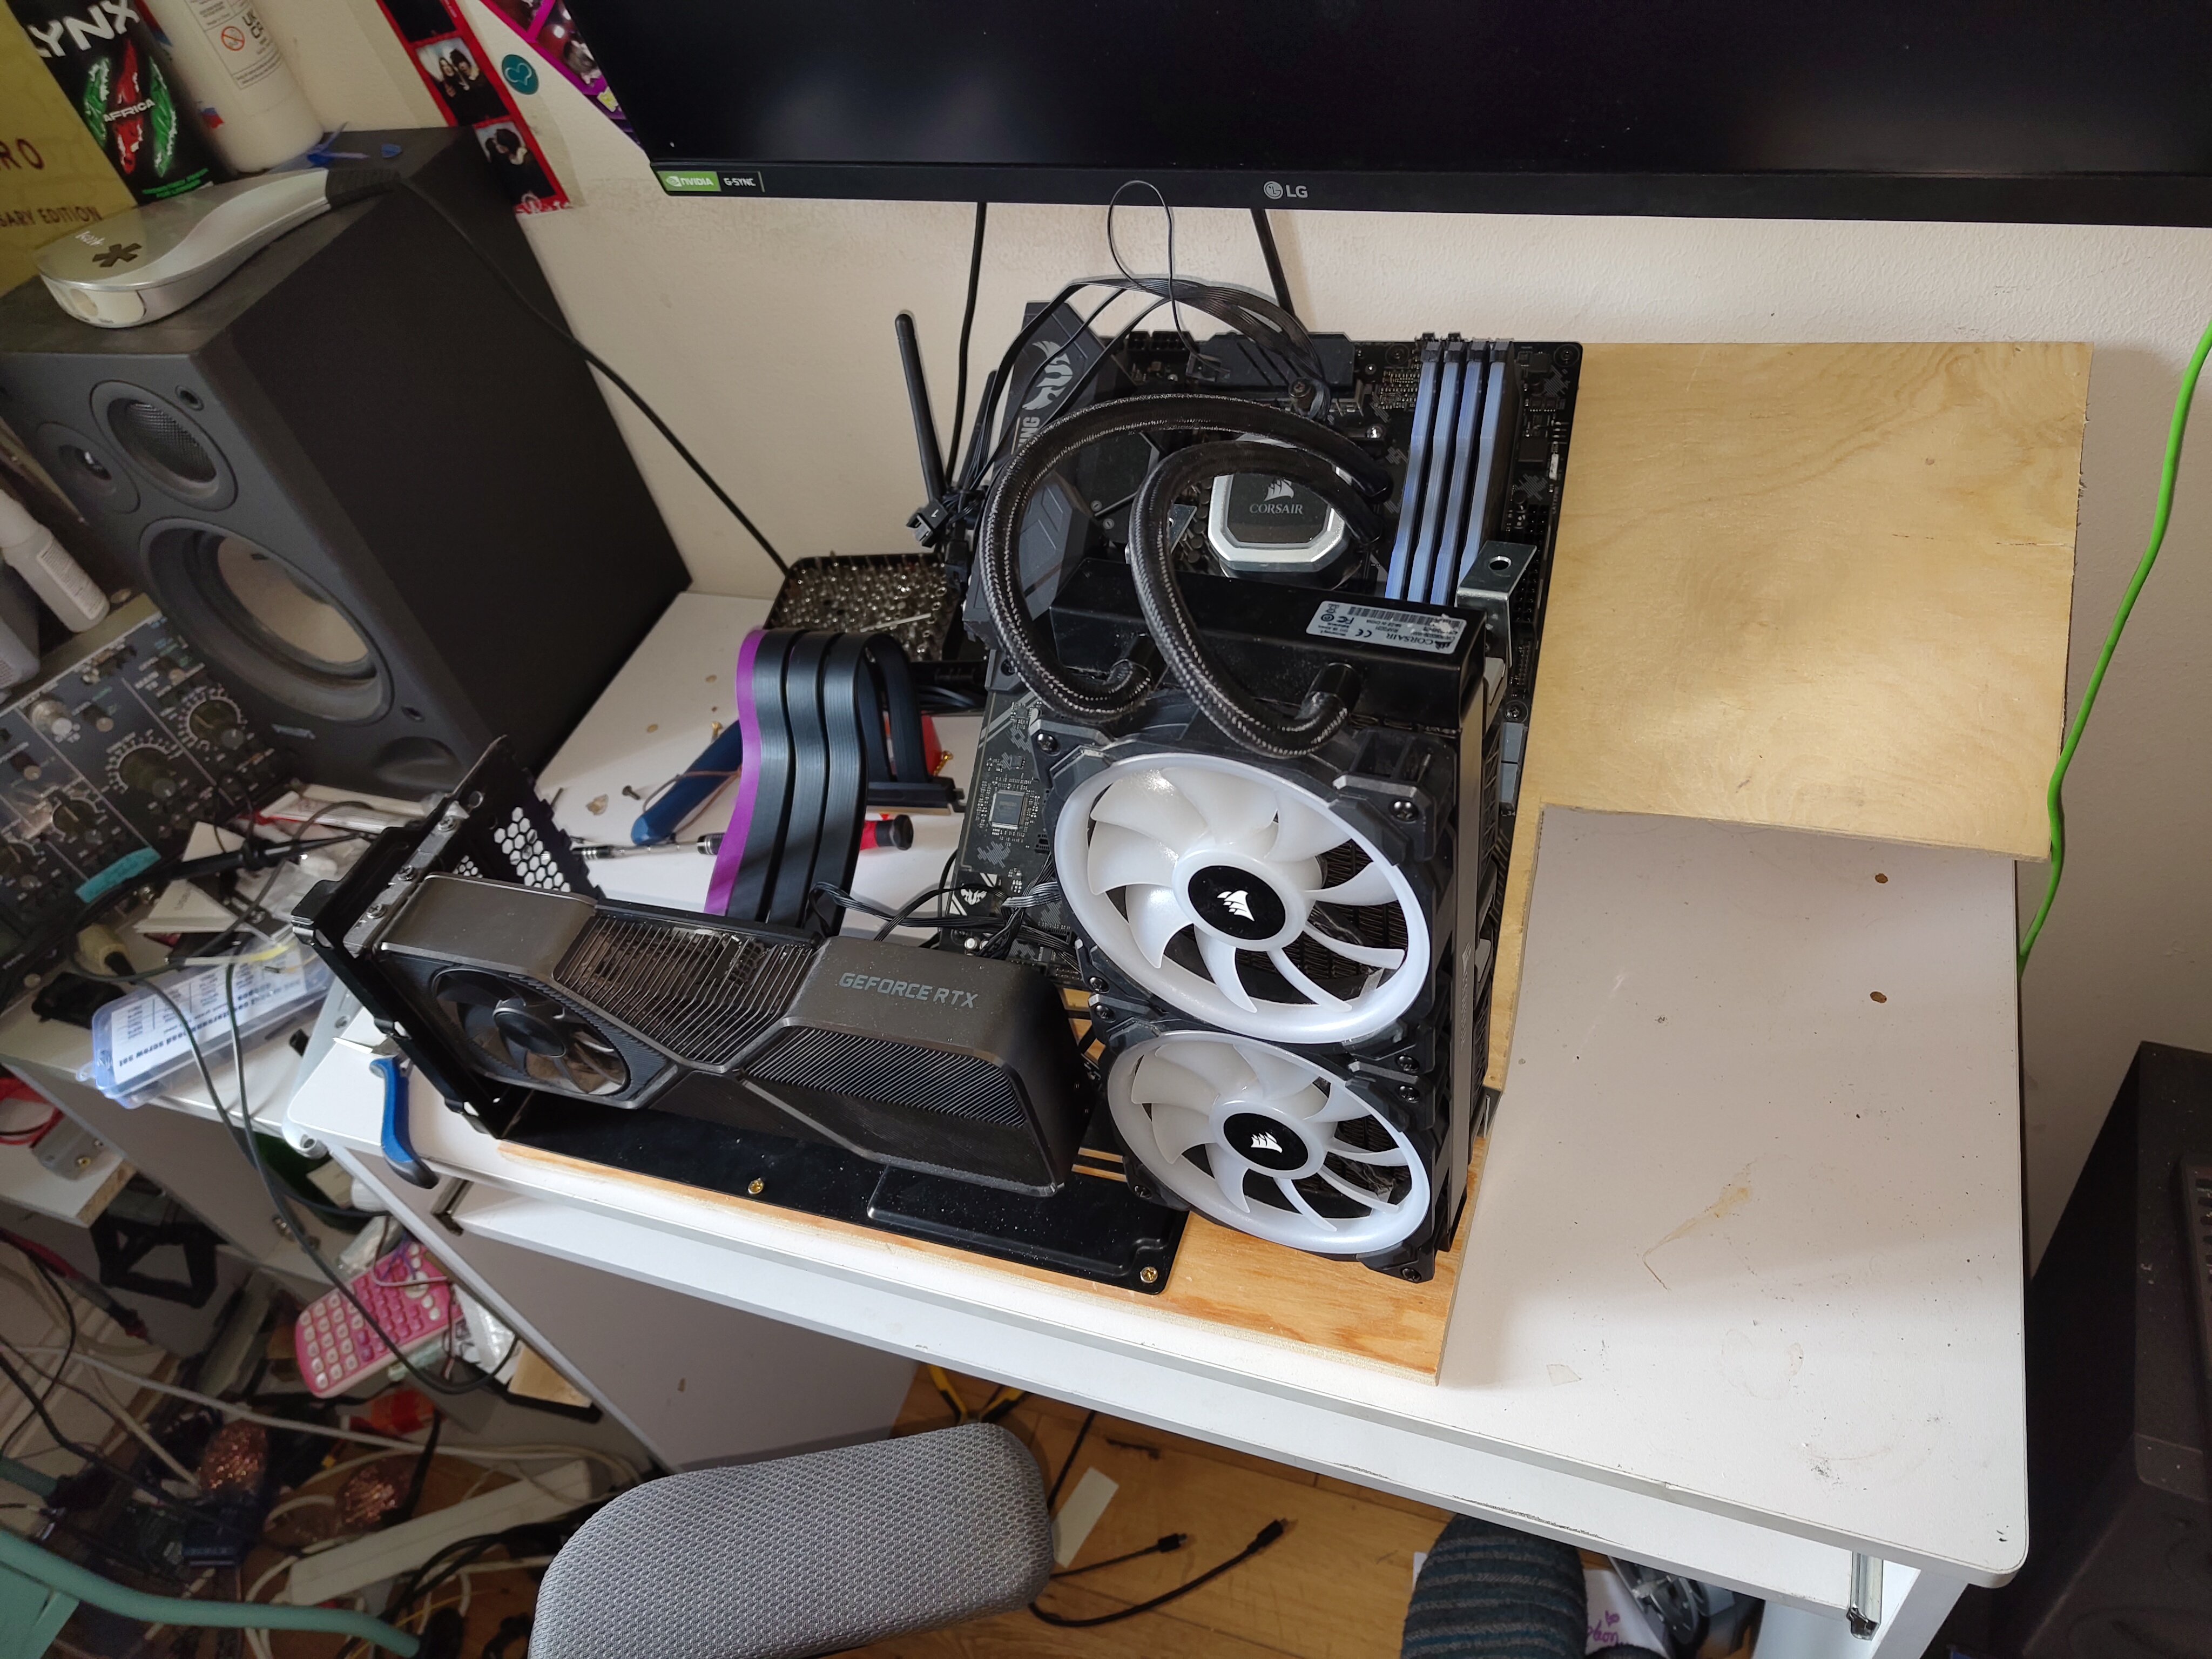
The radiator was attached with right angle brackets allowing the back panel and the bottom part to be attached.
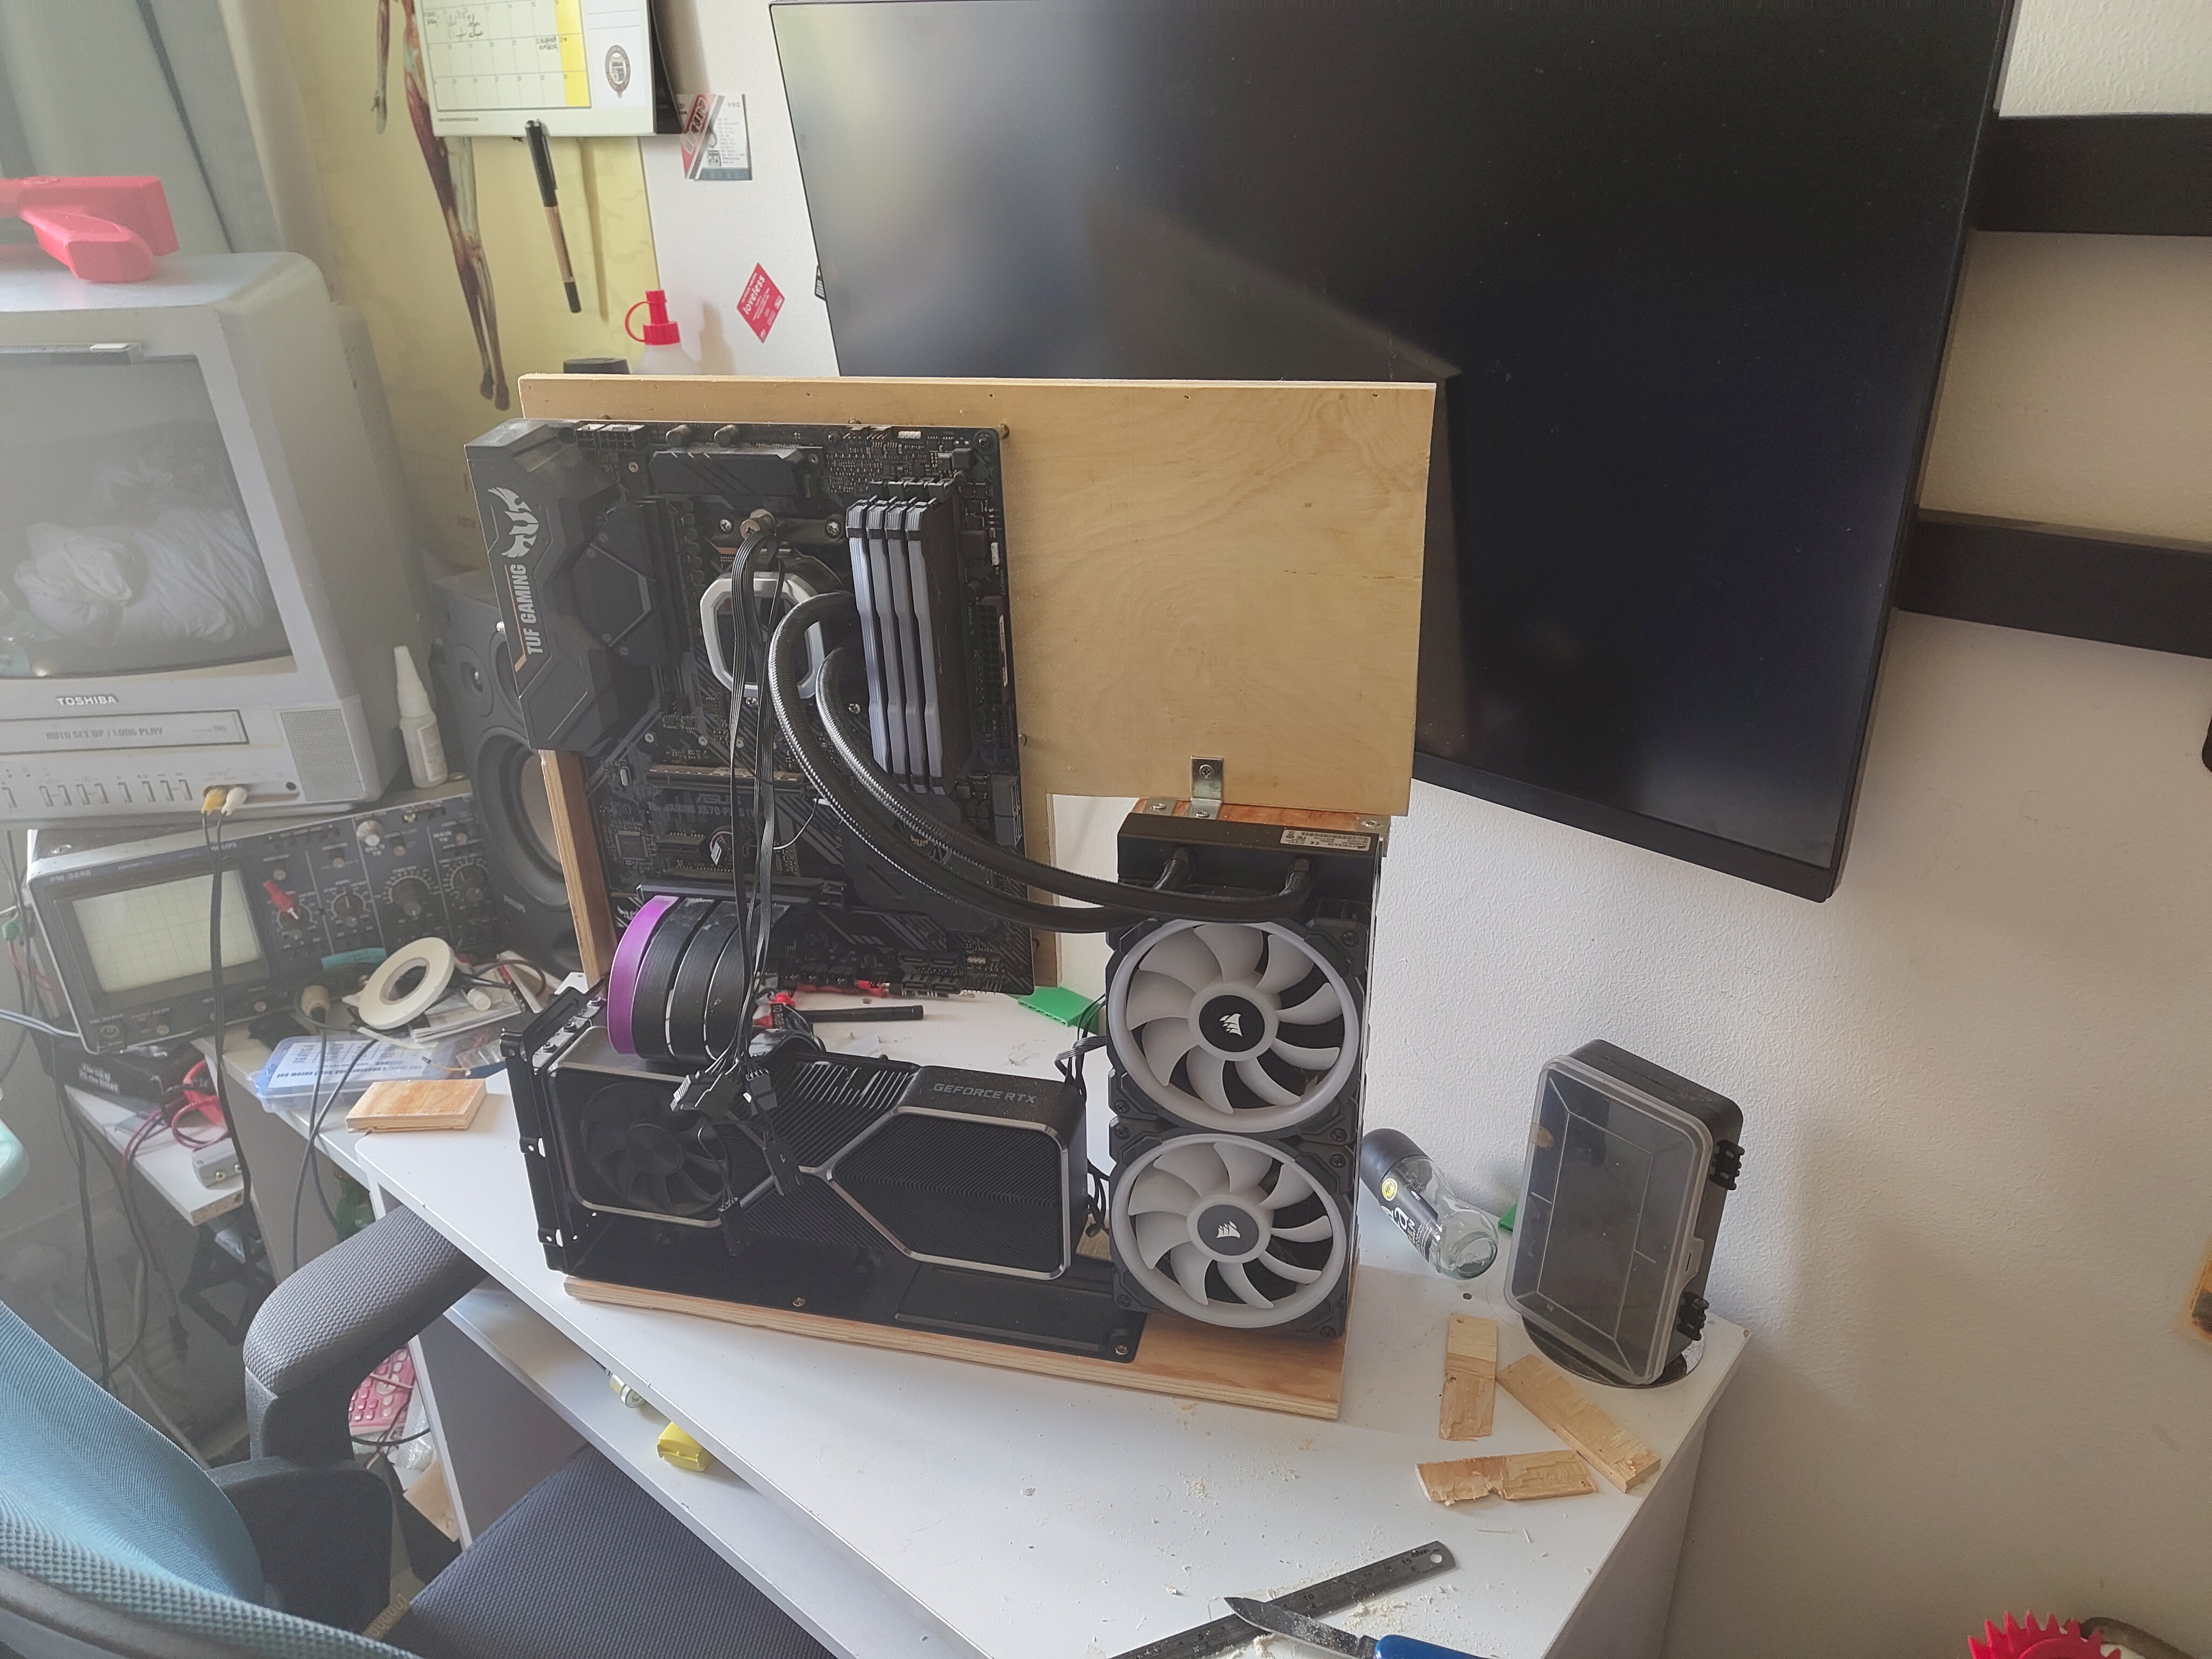
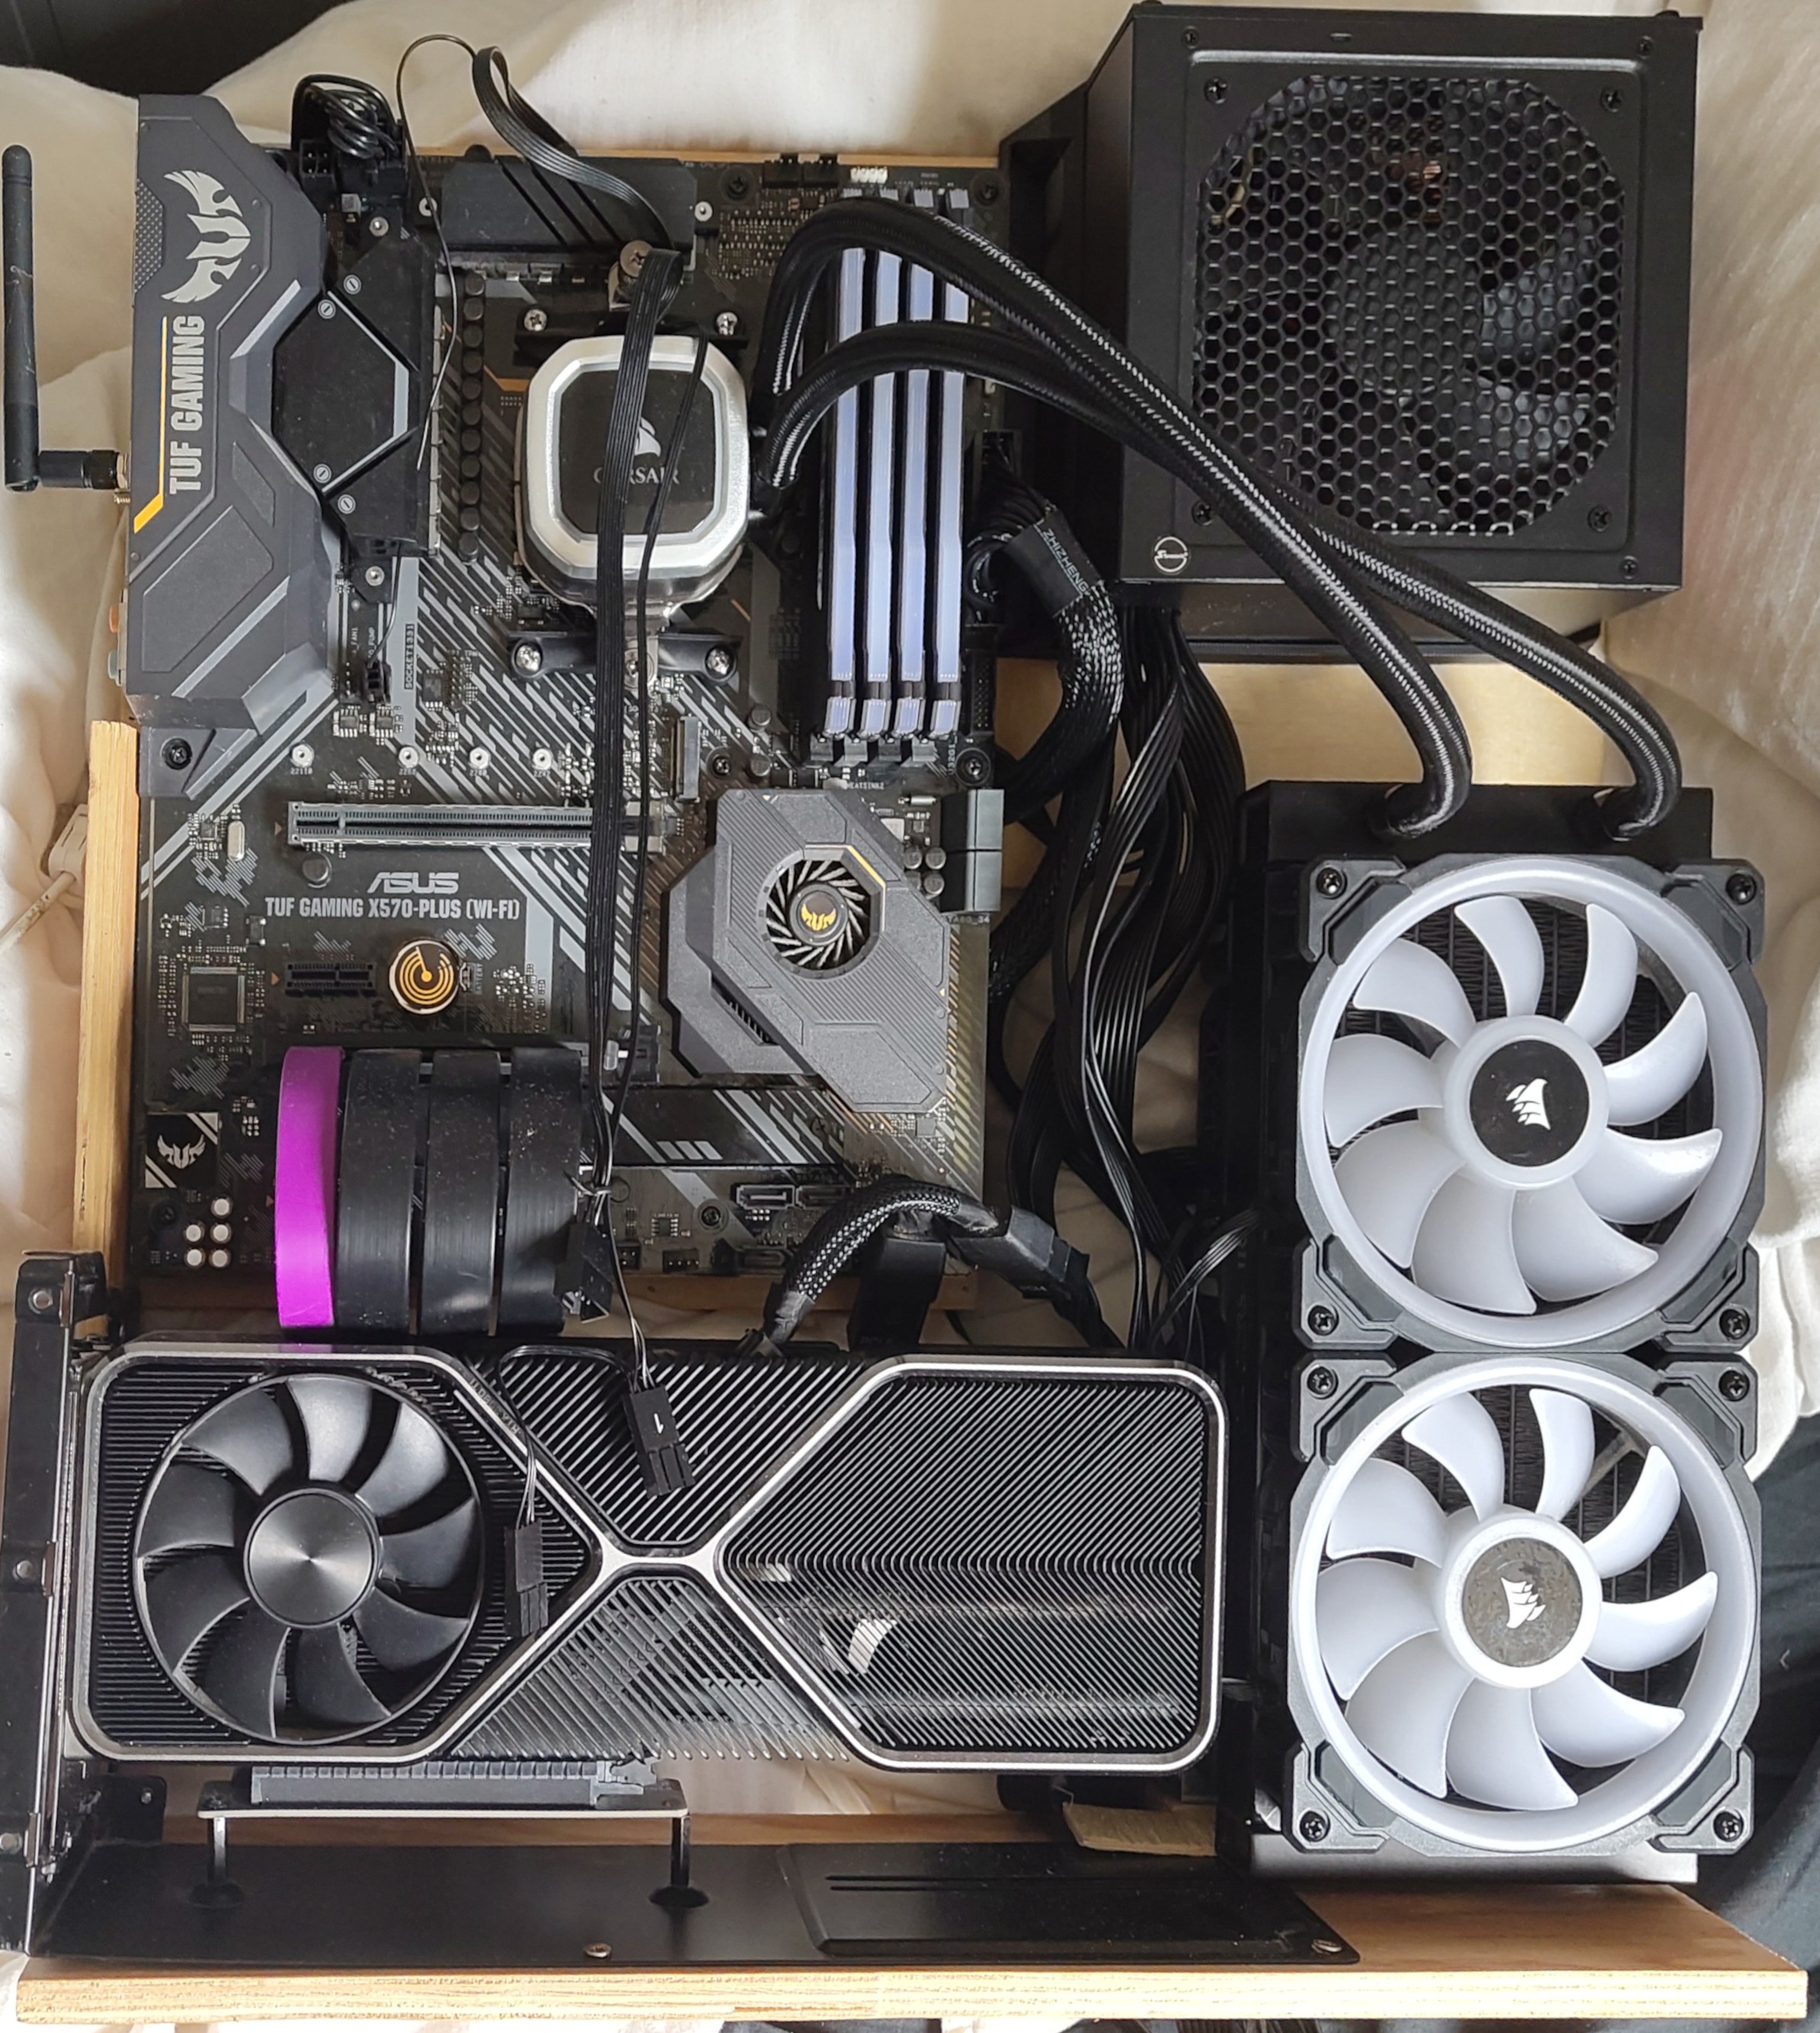
Lastly I mounted the PSU using a 3D printed bracket (Download FreeCAD file or .3mf) it's specific to the length of my PSU but you can easily change it or request the version without that part.
With that the project is essentially complete.
(I have yet to actually mount it on the wall and I still have to interface an analog ammeter with it.)
Comments